Share

Maker Team member Kim of @franandjudy is celebrating the vibrant hues of Fall with this folk decoration. We love the rich browns and golds mixed with the unexpected blue tones. What colors make you think of autumn? No matter what's happening outside your window, it's time to bring the fall season inside!
You are going to fall for this folk foliage tutorial! Scalloped leaves in Benzie’s rich Harvest Moon felt palette are embroidered with a simple back stitch and arranged on a vertical garland, giving the feel of falling leaves on a crisp autumn morning.
Skill Level: Beginner
Time: 4 hours

Additional Supplies:
Foliage Template (click to download)
Iron
Directions:
1. Print out the Foliage Template above on one sheet of freezer paper. Make sure to print on the dull side of the freezer paper. Cut out each of the shapes from the paper.
2. Iron freezer paper shapes onto felt. Preheat your iron on High for about five minutes. Make sure there is no water in your iron. Match each template with the corresponding colors. Place the shiny side down on the felt with the template illustrations facing up. You will be able to reuse the iron-on templates to cut each of the colors listed.

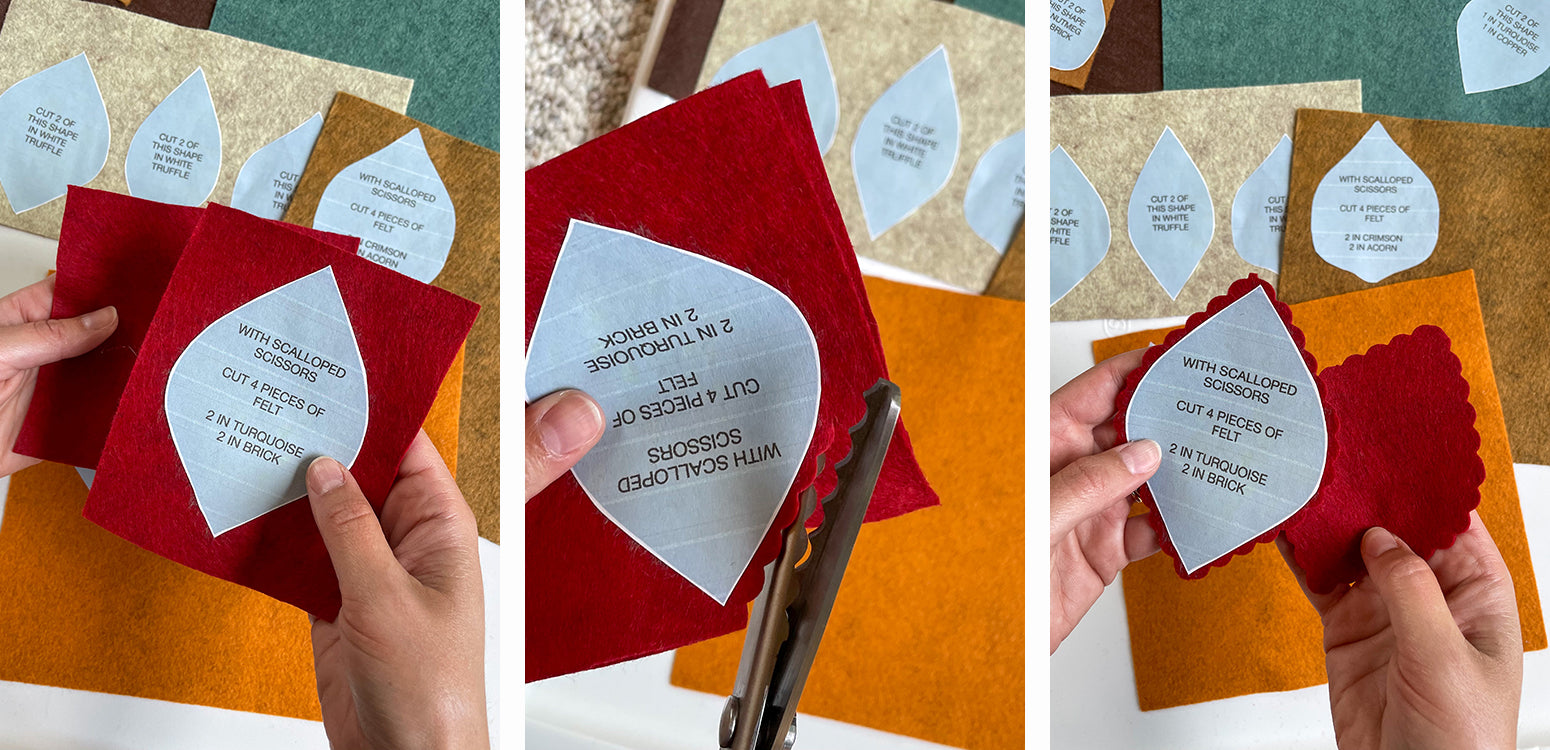
3. Cut out felt shapes around each of the templates.

For the shapes listed to cut with scalloped shears, iron on the template with extra room around the shapes. Cut two identical shapes by layering two pieces of felt, cutting through both of them with the scalloped shears. This will ensure the front and back leaves match.
Reuse the iron on templates for each of the colors listed on the shape.

4. Sort color shapes into each layered leaf.

5. Begin layering pieces and lightly glue together with just enough to hold each leaf layer in place for stitching.

6. Using the back stitch, create the veins of the leaf.

The back stitch is an up and down stitch that reinforces the layers of the leaf while creating decorative details. To begin, measure out about 12" of embroidery floss. Separate the strands (six total) into three strands each.

Thread an embroidery needle and tie a knot at the end. Leave the back scalloped leaf separated; you will only be stitching through the top three layers. Begin at the bottom of the leaf. Place the needle through the layers of felt coming straight up. Place the needle back down through the layers of felt creating a stitch that is about 1/4" long.

On the underside of the leaf, move your needle about a 1/4" further down, coming up through the layers of felt once again. Bring the needle and thread back to where the first stitch ended, entering through, or close to, that same exit point. Move the needle underneath about a 1/2" further down, push the needle up through the felt and then back a 1/4" to complete the stitch, placing the needle through the exit point like before. Continue this process in a straight line up the middle of the leaf. When you run out of floss, knot the remaining floss at the back to secure your stitch, measure out about 12" more and separate the length into three strands each. Repeat as needed.

7. Using the completed center stitch on the leaf as a guide, create four diagonal veins, two on each side. Count down from the top of the completed center back stitch three stitches to begin the first diagonal stitch. Count down another three stitches to create the diagonal stitch on the right side. Repeat on each side one more time.

8. Measure out three pieces of white twine, each 6' in length. Take one piece, create a loop that measures about 6" inches and begin a loose knot.

Feed one of the other pieces of twine through the loose knot halfway. Follow with another in the same manner. Begin to tighten the knot. There should now be six strands of twine, one for each of the leaves.

9. Using an awl, create a hole through the center of three medium poms. Use the darner needle to pull the three medium poms through the loop at the top. Tie a knot at the top of the three poms to secure.

10. Line up the completed leaves in a staggered vertical line. Select one strand of twine and sandwich it between the scalloped back and the stitched leaf (close to the top knot) with a medium amount of glue. Trim the excess twine from below the leaf.

Gently select a second strand and place the next leaf just below the first in the same manner. Continue to repeat this step until all of the leaves are glued to their individual strand of twine.

You did it! Try hanging your decoration on a hook to add some Fall flare to your home. You can also adapt this tutorial to create a swooping garland or add the leaves to a wreath for your front door. Happy crafting!

Thanks to Kim for designing and writing this tutorial! You can follow her on Instagram @franandjudy or visit her website. Stay tuned for more tutorials from the Benzie Design Maker Team!


