Share

The beginning of a new year often inspires new resolutions. Will you exercise more? Will you write in a journal? Will you take time everyday to create? (Yes, please.) Whatever you're striving for, the Word of the Year Banner by Maker Team member Sue of @bluewithoutyoukids will help you stay on track.
Do you choose one word as an intention for the new year? Being deliberate about what we focus on can give us more direction in the unpredictable world we live in right now. I love using this simple banner as a reminder of that! This craft is perfect to do as a family with each person choosing their own special word. The simple embroidery style is meant to be like a doodle drawing with thread. And since I’ve been dying to try Benzie’s Pom Pom makers, I embellished the banners with cute little poms made of yarn!
Skill Level: Beginner
Time: 2 hours

Supplies:
Pointed Canvas Banner - small
Frixion Tracing Pen or Pencil
Embroidery Floss
Embroidery Needle
Scissors
Wooden Dowel - 12"
Twine
Wool Tapestry & Embroidery Yarn
Pom Pom Maker
Directions:
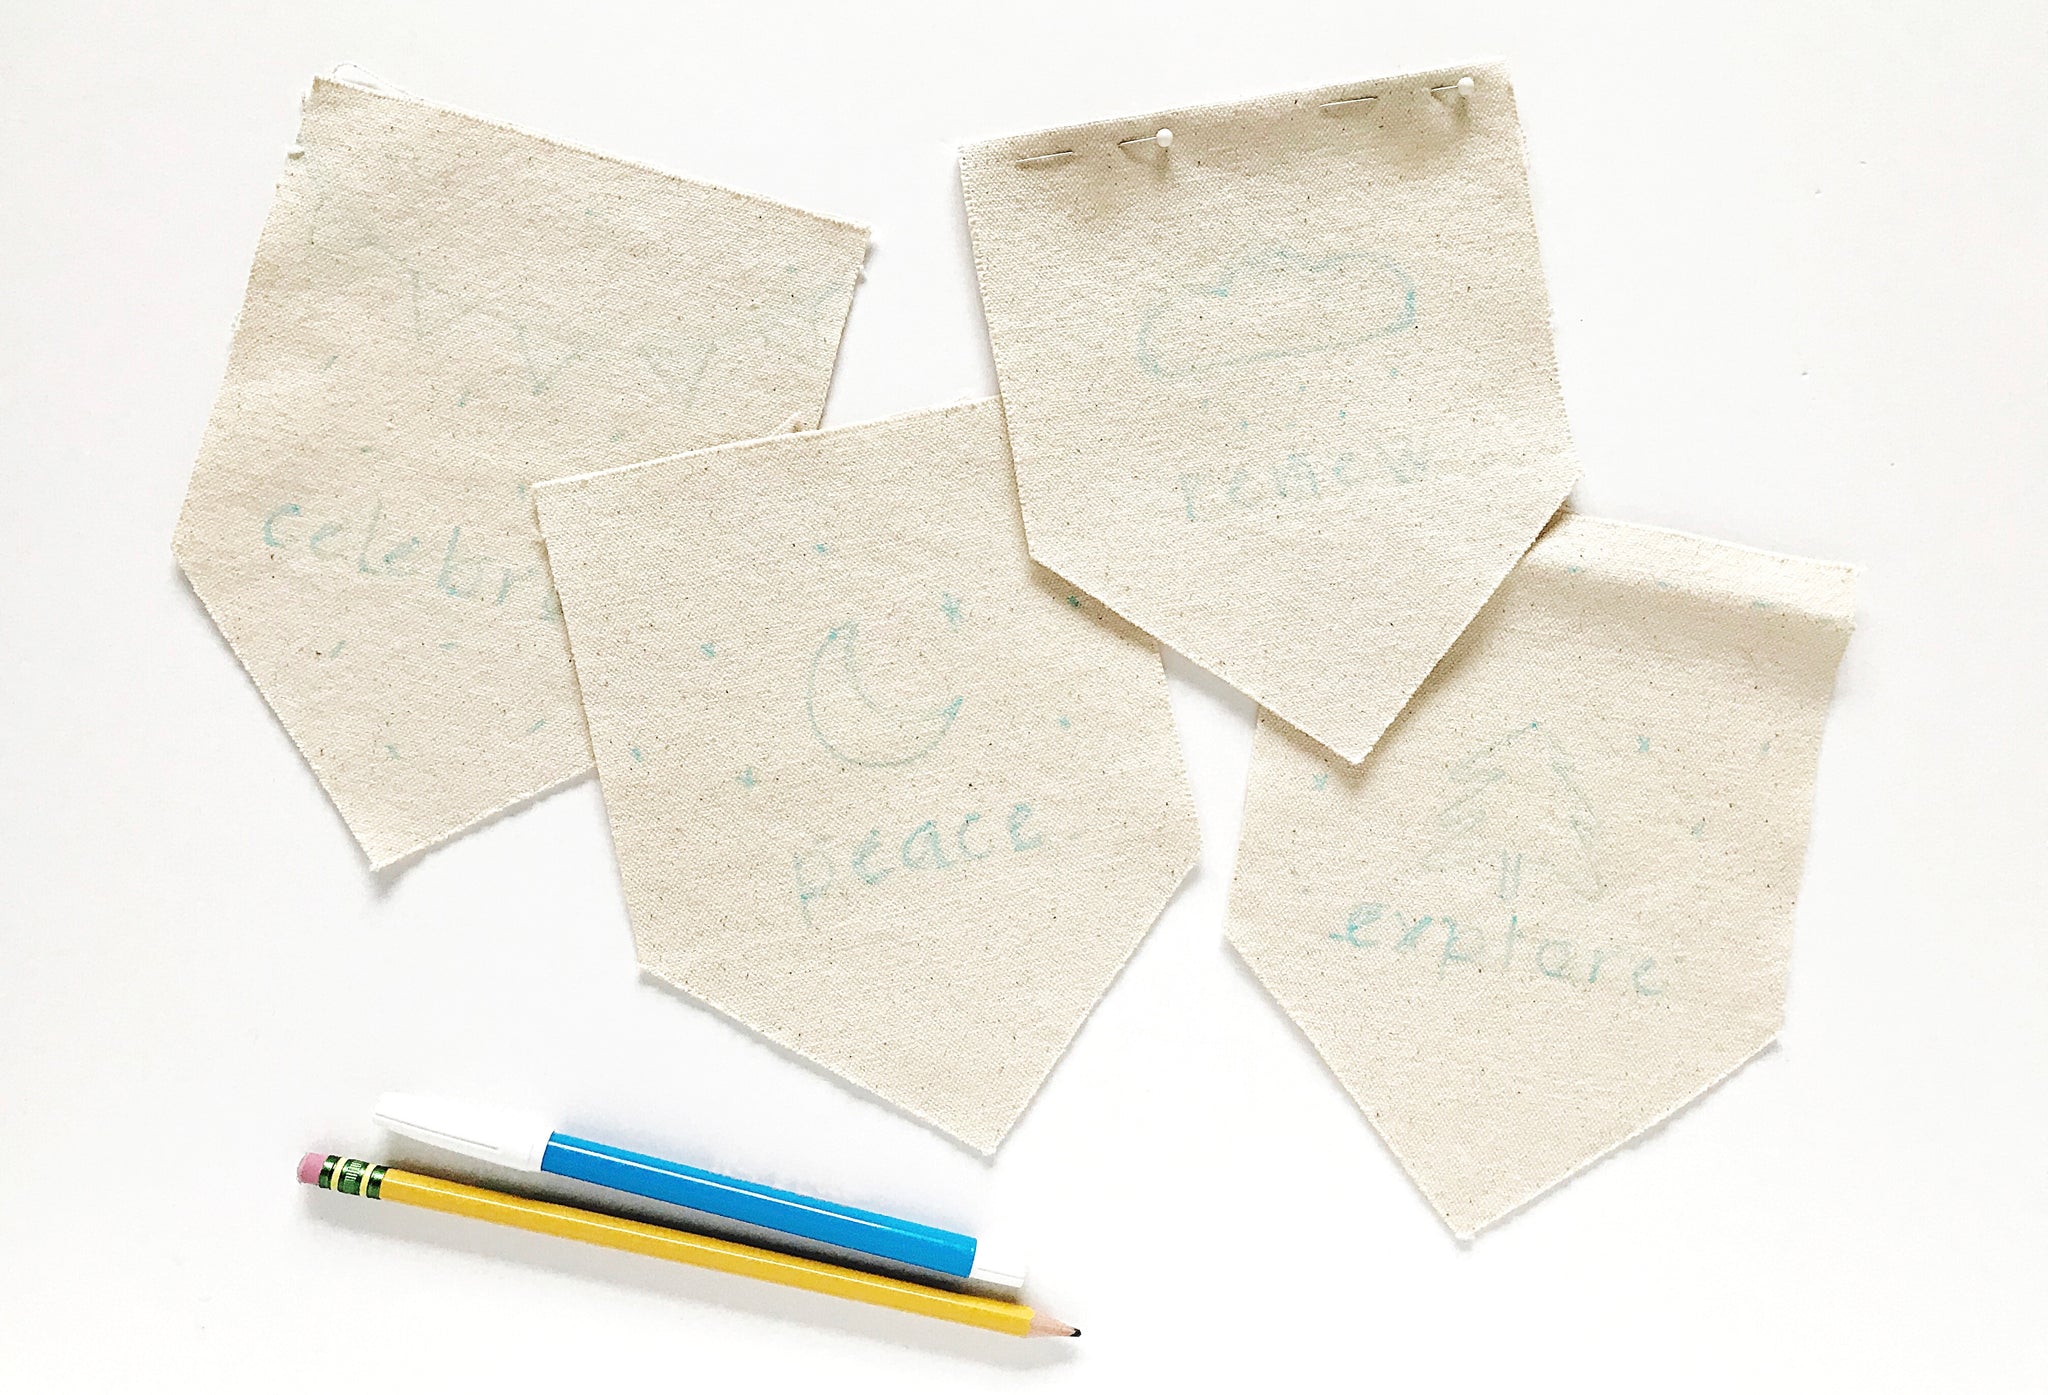
1. Draw your pattern. Choose a word that is meaningful to you and sketch a simple line drawing to go with it. The size of the drawing and text should roughly fit inside a 3-1/2” x 3-1/2” square. The uniqueness of your drawing style and handwriting adds character to your banner. Think of it as doodling with thread!
2. Transfer pattern to your banner. Trace over your pattern with a Sharpie or dark marker so you can see it through the banner. Center your drawing behind the banner, tape it in place and hold it up to a window or other light source. Trace over the lines and text with a pencil or Frixion tracing pen. Ink lines from the Frixion pen will disappear using heat from a blow dryer.
Tip: You can skip the first part of step 2 and draw directly on your fabric, depending on what you’re comfortable with.
3. Choose a color palette and start stitching! Knowledge of basic embroidery stitches is helpful but not necessary. Get creative with your stitches and try some new ones!
Here are a few examples I made on scraps of canvas before narrowing it down to my final three:

4. Cut one of the wooden dowels slightly longer than the width of your banner (approx. 6-1/2”), then slide it through the casing at the top. Cut a 12” piece of string or twine and tie it to the ends of the dowel using a square knot.

5. To add pom poms to your banner, follow the simple directions on the package of the pom pom maker. I’ve tried other pom pom makers and these are by far my favorite! They make perfect little poms that require very little trimming. Benzie carries two sets, large and small. I used the 1-5/8” (yellow one) and 2-1/2” (aqua one). Each wool tapestry yarn bundle makes one 2-1/2” pom.

6. On the last step of making the poms, use a piece of yarn that is about 12” long to tie the cut strands together. You can use this longer piece to attach them to your banner.
Tip: Create color-block poms by switching colors on the second side when wrapping the yarn. Mixed-color poms can be made by wrapping two colors at the same time. 
That’s it, you’re done! Hang your banner in a prominent place for a daily reminder of your intention. This craft is the perfect way to use all those embroidery thread and yarn scraps you’ve been saving and is great for crafters of all skill levels!


Thanks to Sue for designing and writing this tutorial! You can follow her on Instagram @bluewithoutyoukids or visit her website. Stay tuned for more Benzie Design Maker Team tutorials!


